So, you’ve got a WordPress site up and running and you’re looking to take it to the next level? Awesome! Before we dive into the nitty-gritty of installing plugins, let’s clarify something important: this guide is specifically for WordPress.org, not WordPress.com. If you’re a bit unsure about the difference, check out my other post, “What is WordPress?” for a quick rundown on how these platforms differ.
Plugins are the magic wands of WordPress.org, turning your site into whatever you envision. They come in two flavors: free and premium. Free plugins are easily accessible from the WordPress Plugin Repository, a treasure trove of tools to enhance your site without spending a dime. On the other hand, premium plugins, which you usually purchase from third-party developers, offer more advanced features and dedicated support.
Installing these plugins is a piece of cake. You don’t need to be a tech guru to get them up and running on your site. We’ll cover two super simple methods to get your plugins installed, so you can start enjoying their benefits in no time.
If you’re curious about themes as well, don’t miss my post on “WordPress Themes and Plugins“, which covers how themes and plugins work together to create the perfect look and functionality for your site.
Ready to enhance your WordPress.org site with some fantastic plugins? Let’s get started with our easy installation guide and watch your site transform!
Table of Contents
How to Install WordPress Plugins: Search Method from Your Dashboard
To start installing a plugin through the WordPress dashboard, first, you need to log in to your WordPress site.
Open your preferred web browser and navigate to the login page of your WordPress site. This is typically found at yourdomain.com/wp-admin. Enter your username and password to access the dashboard. If you’ve forgotten your password, you can reset it by visiting our other post on “How to Reset WordPress Login Password.”
Once you’re logged in, you’ll be directed to the main admin screen of your WordPress dashboard. On the left-hand side, you’ll see a sidebar with various menu options. Locate the menu item labeled “Plugins” and click on it to reveal a drop-down menu. From this drop-down menu, select “Add New Plugin.”
The “Add Plugins” page is where you can search for and install new plugins. At the top right of this page, you’ll find a search bar. This is where you’ll type the name of the plugin you’re looking for, or a keyword related to the functionality you need. For example, if you’re searching for a plugin that helps with SEO, you might type “SEO” into the search bar.
As you type, WordPress will automatically generate a list of plugins that match your search criteria. Take some time to browse through the search results. Each plugin listing includes a brief description, the plugin’s rating, and other relevant information to help you make an informed choice.
When you’ve found the plugin you want to install, click the “Install Now” button next to it. WordPress will begin downloading and installing the plugin for you. This process usually takes just a few moments, depending on the size of the plugin and your internet and web hosting speed.
After the installation is complete, the “Install Now” button will change to an “Activate” button. Click on “Activate” to enable the plugin on your WordPress site. Activating the plugin is essential as it makes the plugin’s features available for you to use.
With the plugin activated, you may need to configure its settings depending on the plugin’s purpose. Most plugins will add a new menu item to your dashboard or settings area where you can adjust its configuration according to your needs.
If you wish to install additional plugins from the WordPress repository, simply repeat the process from the beginning. Navigate back to the “Plugins” section, select “Add New,” and use the search bar to find and install the next plugin you’re interested in.
Remember, this method is specifically for installing free plugins available in the WordPress plugin repository. For premium or third-party plugins, you’ll need to follow a different installation process that usually involves uploading a .zip file.
And that’s it! You’re now equipped to explore and enhance your WordPress site with various plugins. Enjoy experimenting with different functionalities and optimizing your website to meet your needs.
How to Install WordPress Plugins by Uploading It Through the Dashboard
Alright, if you’ve got a plugin file ready to go that you downloaded from somewhere other than the WordPress repository, you can easily upload and install it directly through your WordPress dashboard. Here’s a step-by-step guide to help you out.
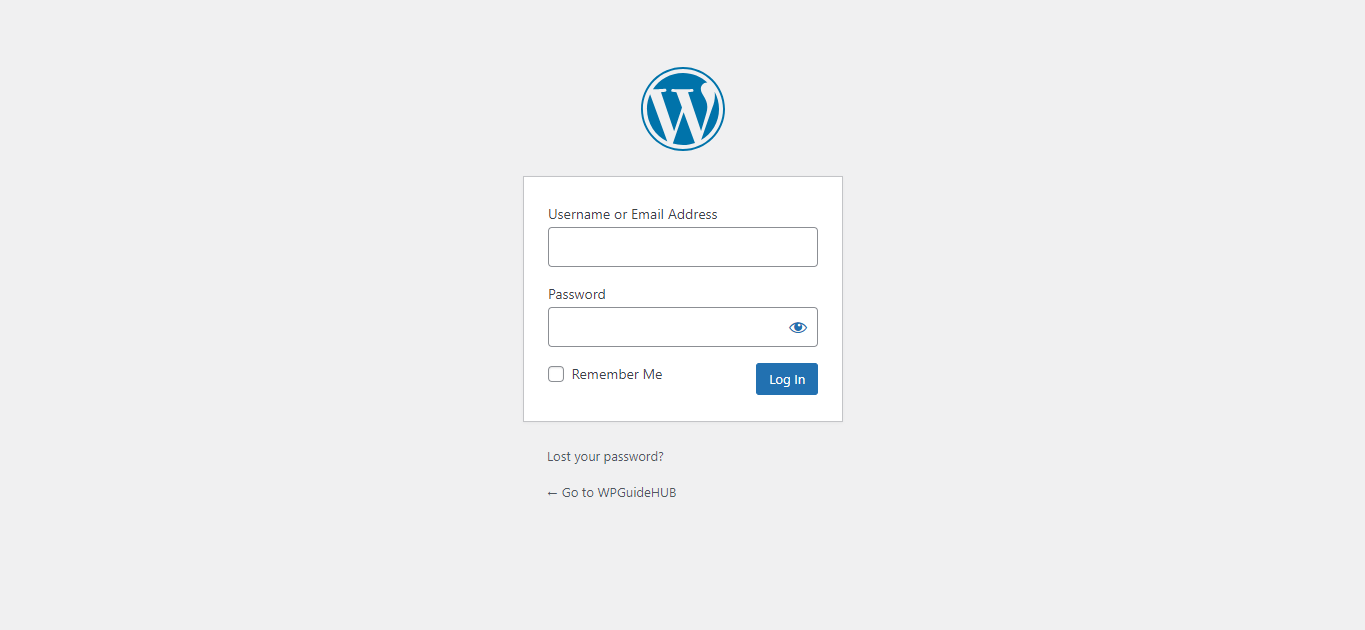
First things first, log in to your WordPress dashboard. This is usually done by heading to yourdomain.com/wp-admin and entering your login details. If you’ve forgotten your password, don’t sweat it—check out our guide on resetting your WordPress login password here.
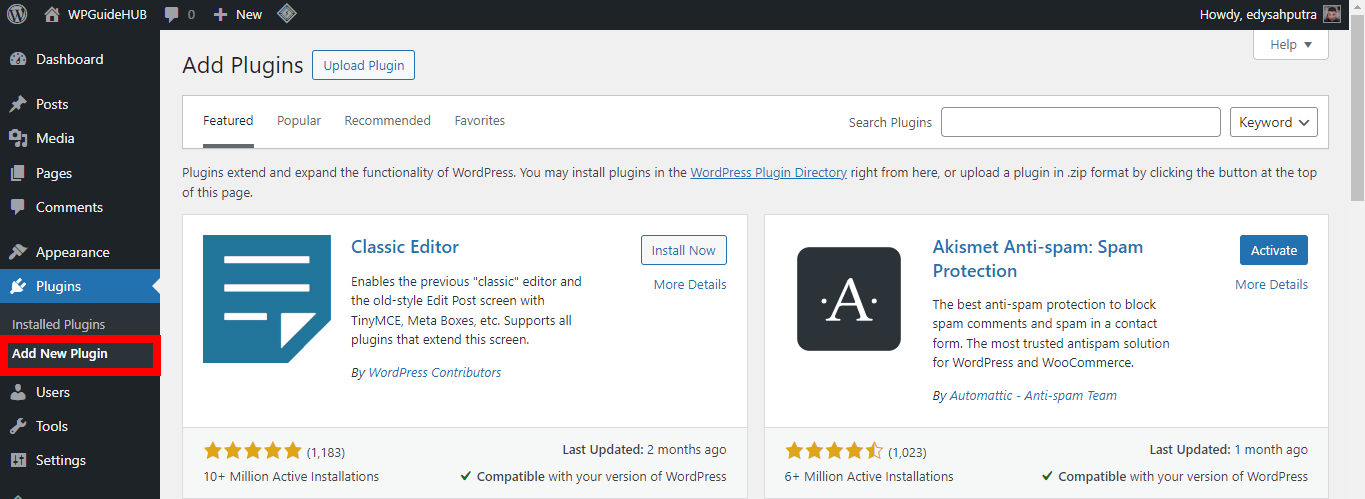
Once you’re logged in, look over to the left sidebar and find the “Plugins” option. Click on it, and from the dropdown menu, choose “Add New Plugin.” This will take you to the page where you can add new plugins.
On the “Add Plugins” page, you’ll spot a button at the top that says “Upload Plugin.” Go ahead and click this button to start the upload process. You’ll then be prompted to choose a file from your computer.

Click on “Choose File” and navigate to the .zip file of the plugin you want to install. Select the file, and then hit the “Install Now” button. WordPress will handle the upload and installation for you.
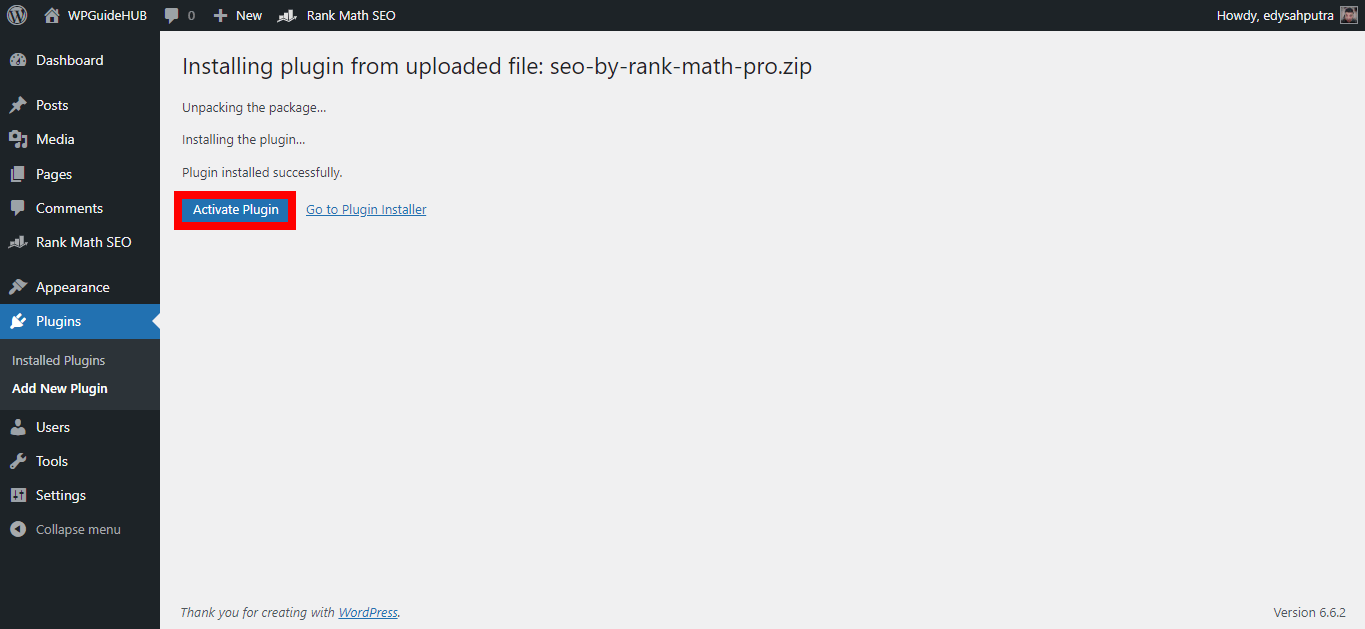
Once the upload is finished, you’ll see a success message along with an option to “Activate Plugin.” Click this button to activate the plugin and make it active on your site.
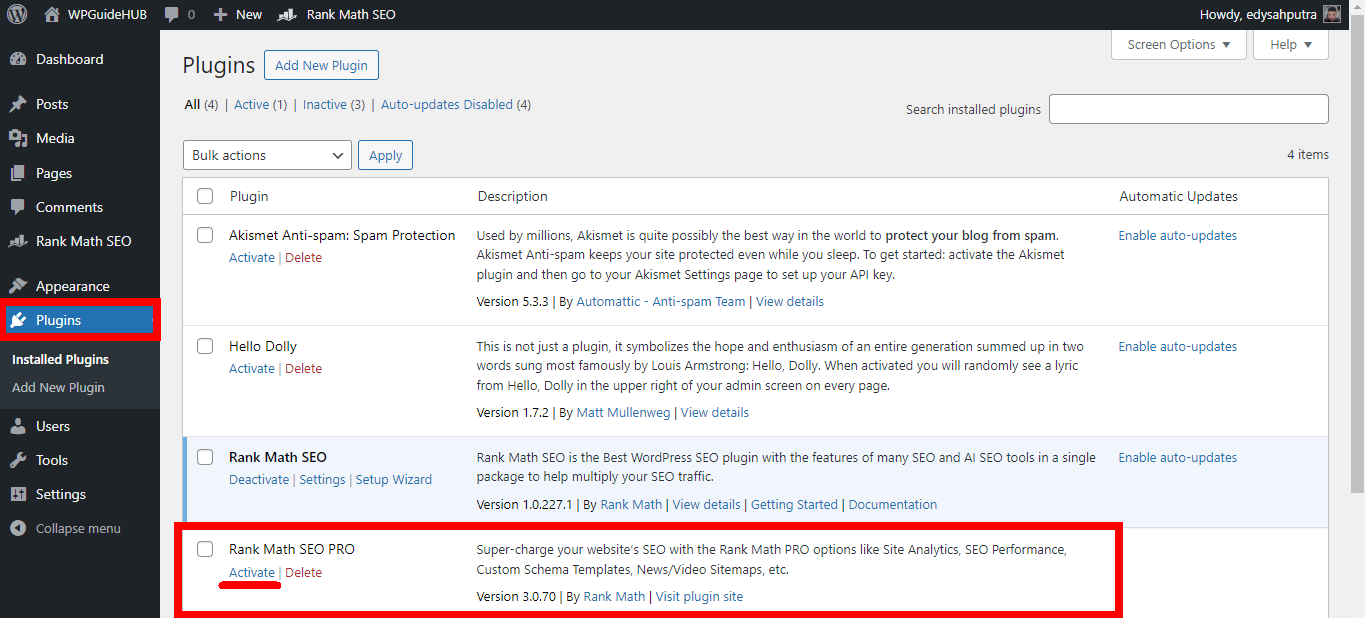
If you don’t see the “Activate Plugin” option immediately, just head back to the “Plugins” section, find your new plugin in the list, and click “Activate” from there.
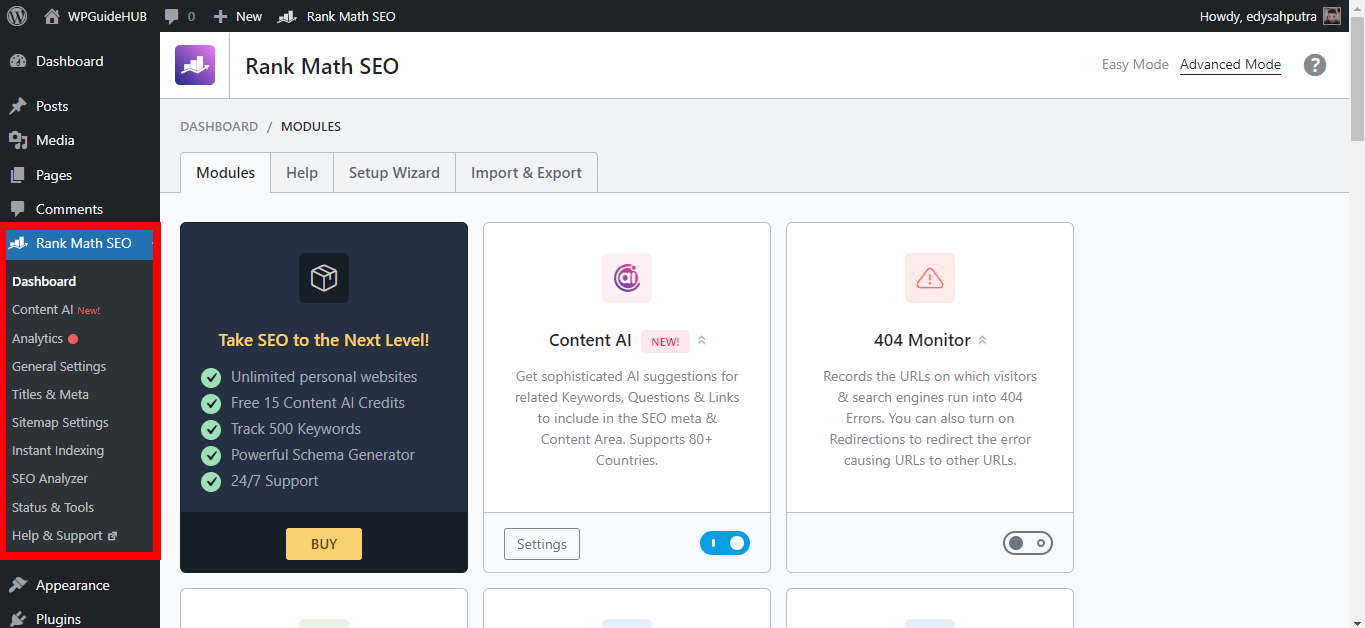
After activation, you might need to configure the plugin’s settings. Many plugins will add their own menu item or settings page in your dashboard, so keep an eye out for new options or settings related to your plugin.
And there you have it! If you have more plugins to install, simply repeat these steps. It’s a quick and easy way to enhance your WordPress site with the functionalities you need.
Conclusion
Installing plugins on your WordPress site is a fantastic way to expand its functionality and improve its performance. Whether you opt to install plugins directly from the WordPress repository or upload them manually, the process is straightforward and user-friendly. For installing a free plugin from the repository, start by logging into your WordPress dashboard. Navigate to the “Plugins” section, click “Add New Plugin,” and search for the plugin you need. Once you find it, click “Install Now,” and then “Activate” to get it up and running.
If you have a plugin file to upload, go to the “Plugins” section, choose “Add New Plugin,” and click the “Upload Plugin” button. Select your .zip file, hit “Install Now,” and activate the plugin once the upload is complete.
As you install plugins, keep in mind not to install the same plugin more than once or overload your site with too many plugins. Excessive plugins can slow down your site or create conflicts. Always choose plugins that are essential and from reputable sources.


