Ready to dive into creating your WordPress website or blog? Before you get started, there’s one important step you need to take: installing WordPress on your web hosting. Since WordPress is software, you’ll need to set it up on your hosting platform before you can start building your site.
Think of it like setting up a new piece of software on your computer. You wouldn’t just start using it without installing it first, right? The same goes for WordPress. Installing it on your web hosting is the first step to getting everything up and running smoothly.
One thing to keep in mind is that this tutorial is all about WordPress.org, not WordPress.com. It might sound a bit confusing, but they’re actually quite different. WordPress.org is the self-hosted version that gives you more control and flexibility, while WordPress.com is more of a hosted solution with some limitations.
If you’re unsure about the differences between the two, don’t worry! I’ve got you covered. Check out my previous article on “What is WordPress?” to get a better understanding of what sets them apart.
Once you’re clear on that, you’ll be all set to start the installation process. With WordPress installed, you’ll be ready to customize your site and make it truly your own. Let’s get started!
Table of Contents
How to Install WordPress on CyberPanel

If your web hosting uses CyberPanel, installing WordPress is a breeze right from your CyberPanel control panel. You can easily set up WordPress on your main domain or even on a subdomain, whichever you prefer.
It’s super convenient, so you won’t have to deal with any complicated processes. Just a few clicks and you’re on your way to having WordPress up and running.
So, if you’re ready to get WordPress installed on CyberPanel, I’ve got you covered with a step-by-step guide. Follow the instructions, and you’ll have everything set up in no time.
With WordPress installed, you’ll be all set to start customizing your site and making it uniquely yours. Let’s dive in and get started.
1. Install WordPress to Main Domain on CyberPanel
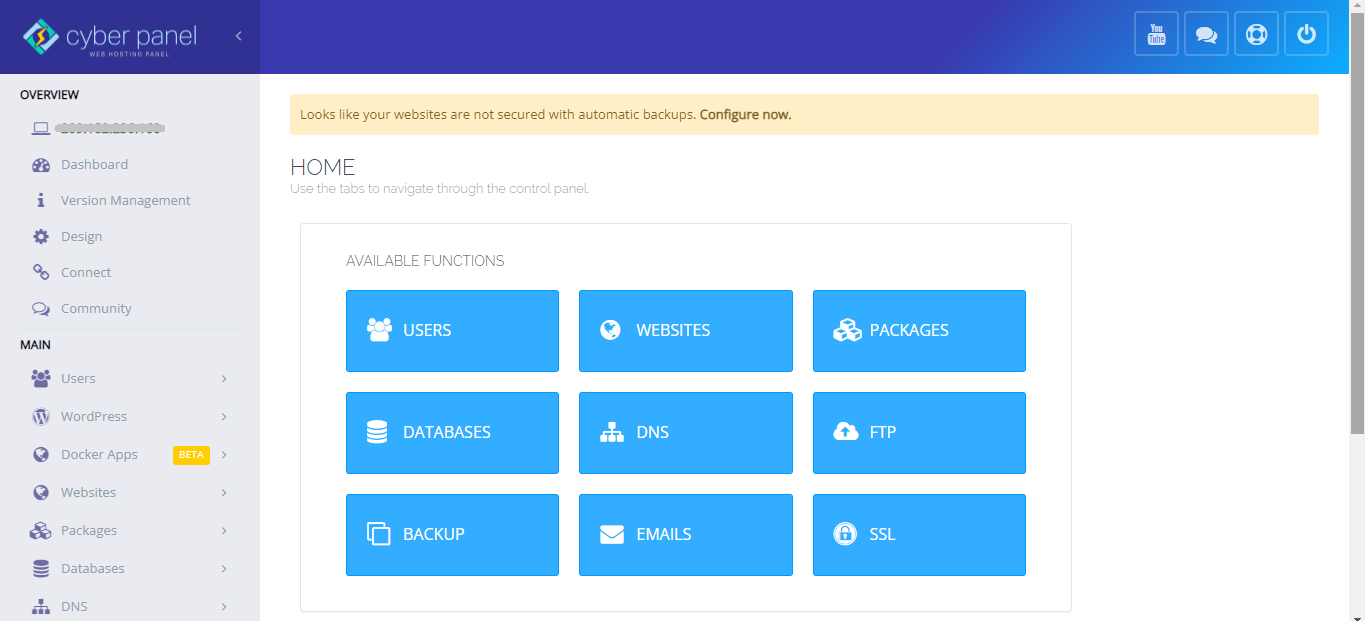
To get WordPress installed on your main domain (not a subdomain), start by heading over to your CyberPanel dashboard. Usually, you’ll need a specific URL provided by your hosting provider, which will look something like wpguidehub.com:8090. If you’re not sure what the URL is, just ask your hosting provider or check your client area for a quick link to CyberPanel.
On your CyberPanel hosting dashboard, click on the “Websites” box. On the next page, click on the “List Website” option to display the list of your CyberPanel hosting accounts.
Next, click on the “Manage” option in the box for the website where you want to install WordPress.
Then, scroll down to the bottom of the page where you’ll find the “Application Installer” section, and click on “WP + LSCache.”
On the next page, you’ll see several fields that need to be filled out before you can install WordPress. Make sure to complete all the fields.
For the email field, I highly recommend using an active email address that you can access. This email will be used to receive notifications from your WordPress site, such as when someone submits a contact form or comment, and for receiving password reset links if you forget your login password.
Additionally, ensure you use a strong password in the password field – deally, something between 8 to 10 characters long, including lowercase letters, uppercase letters, and symbols. Leave the Path field empty. Once you’ve filled everything out, click on the “Install Now” button.
CyberPanel will then download and install WordPress on your web hosting automatically. Just sit back and wait for the installation process to complete.
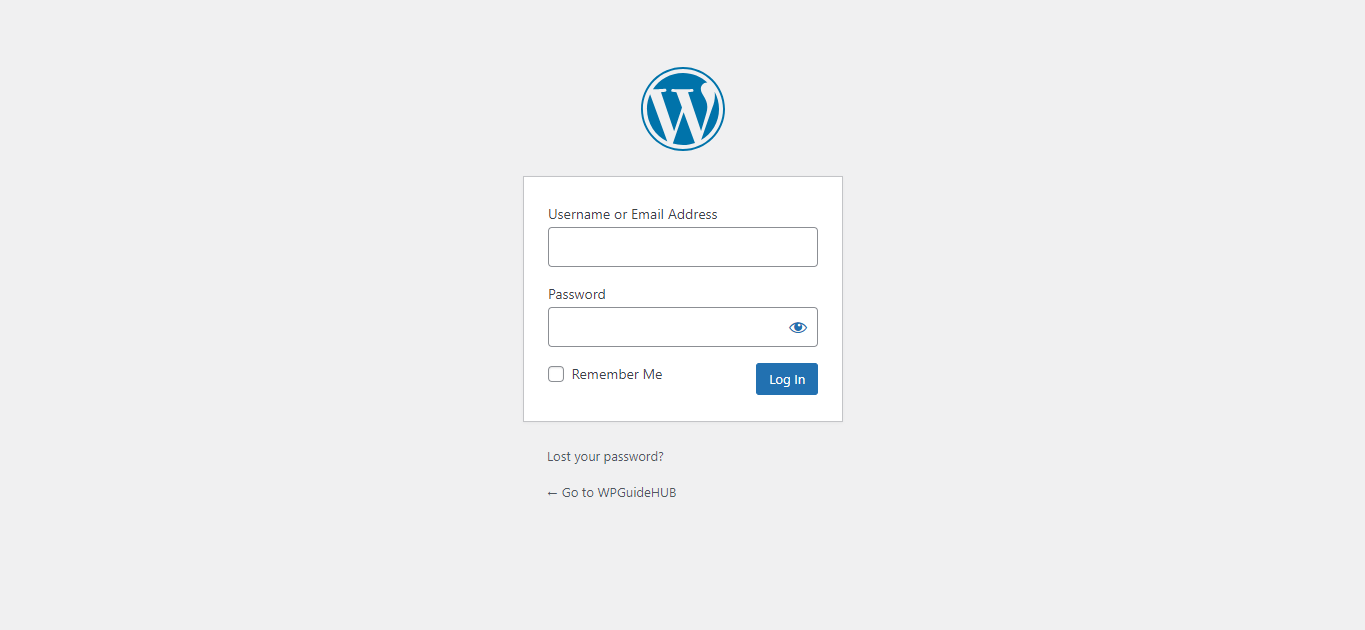
After WordPress is installed, open a new browser tab and go to your WordPress dashboard. To access your dashboard, simply add “/wp-admin” to the end of your domain name, like yourdomain.com/wp-admin. Then, log in using the username and password you set up during the installation.
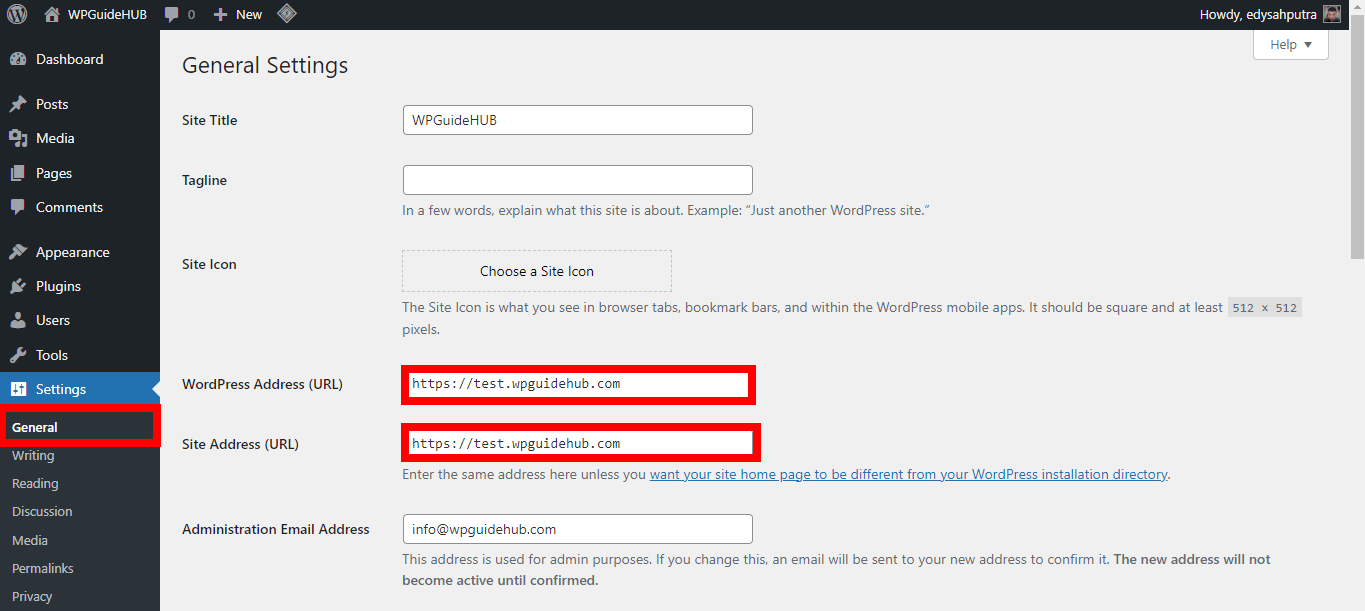
On your WordPress dashboard, click on the “Settings” menu and select “General.” On the General page, change “http” to “https” in both the “WordPress Address” and “Site Address” fields, then click the “Save Changes” button at the bottom of the page.
2. Install WordPress to Sub-Domain on CyberPanel
Besides installing WordPress on your main domain, you can also set it up on a subdomain, like blog.yourdomain.com, using CyberPanel. First, make sure to access your CyberPanel hosting dashboard.
On your CyberPanel hosting dashboard, click on the “Websites” box. On the next page, click on the “List Website” option to display the list of your CyberPanel hosting accounts.
Next, click on the “Manage” option for the subdomain where you want to install WordPress.
Then, scroll down to the “Domains” section. In that section, click on “List Domains” to display the list of subdomains you’ve created. For the subdomain where you want to install WordPress, click on the CyberPanel icon in the “Launch” row.
Next, scroll down to the very bottom of the page where you’ll find the “Application Installer” section, and click on “WP + LSCache.”
Finally, fill out the fields on the page. Make sure to use an active email address in the email field and choose a strong password for the password field. Leave the Path field empty and then click the “Install Now” button.
After that, CyberPanel will download and install WordPress on your subdomain. Just wait for the process to finish. Usually, it doesn’t take long – often less than a minute.
By default, your WordPress site URL won’t use the secure https protocol. You’ll need to change your WordPress site URL to use https for a secure connection. To do this, access your WordPress dashboard by typing your subdomain address followed by “/wp-admin,” like sub.yourdomain.com/wp-admin. Then, log in using the username and password you set up during the installation process.

On your WordPress dashboard, click on the “Settings” menu and select the “General” submenu. On the General page, change “http” to “https” in both the “WordPress Address” and “Site Address” fields. Then, click the “Save Changes” button at the bottom of the page.
How to Install WordPress on cPanel
If you’re using shared hosting like Bluehost Shared Hosting, your hosting service will come with cPanel. So if your hosting uses cPanel, you can install WordPress using Softaculous that’s available in your cPanel.
You can also check if your hosting uses cPanel by typing your domain name followed by “/cpanel” (like yourdomain.com/cpanel). If your hosting uses cPanel, you’ll see the cPanel login page, like in the image above.
Next, log in to your hosting cPanel dashboard using your cPanel username and password. Typically, your hosting provider will send this information to your email when your hosting account is first activated. So, check your inbox or spam folder. Alternatively, you might find a quick login option on your hosting provider’s client area page.
Then, on your cPanel dashboard, find the “Softaculous Apps Installer” tab and click on the “WordPress” icon there.
Next, click the downward arrow next to the “Install” button and select the “Custom Install” option.
Next, fill out all the fields as needed. Leave the “In Directory” field blank, keep the “Advanced Options” as default, and click the “Install” button at the bottom of the page. Wait for the installation to complete. Once it’s done, you can access your WordPress dashboard by adding “/wp-admin” to the end of your domain, like yourdomain.com/wp-admin.
Conclusion
That was a complete tutorial on how to install WordPress. If you have any questions, feel free to ask them in the comments. I’ll be adding tutorials on other ways to install WordPress in the future.


